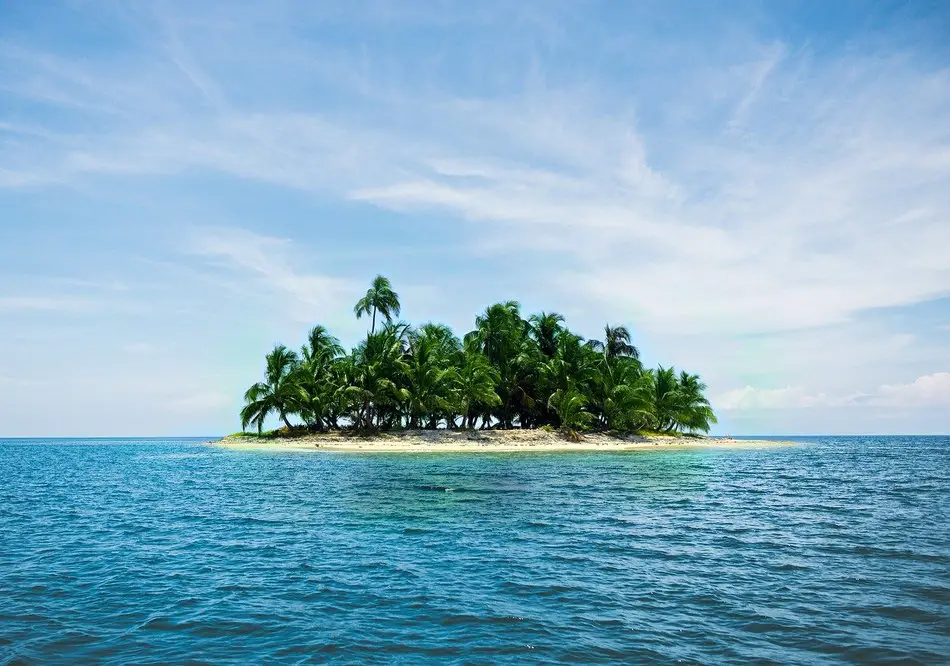
Even though the chances are probably slim, there’s always a possibility that you will get stranded on a deserted island. Are you familiar with the TV series “Lost”? Or the motion picture “Cast Away” featuring Tom Hanks? Well, if something like this happens to you, this article will guide you step by step on how to survive on a deserted island.
The steps you’ll have to take are as follows:
- Stay calm
- Look for other survivors
- Salvage whatever possible
- Try not to get injured
- Find and obtain a water source
- Build yourself a shelter
- Start fire
- Make a rescue signal
- Find some food
Now, let’s have a closer, more detailed look on each and every step that can guarantee your survival on a deserted island. I will also cover how to signal for help, so you won’t stay on that island forever. So, let’s get started.
Step 1: Stay Calm
First thing’s first. The most important thing when finding yourself in an emergency situation is to stay calm. This is no joke and can really make the difference between staying alive or finding your death. All your actions are derived from your mind. Therefore, when you’re calm and cool, you can think more clearly and rationally, while at the same time you’re staying in a positive state of mind. A positive state of mind is extremely important, especially in such an extraordinary situation.
When you’re stressed or panicking, you tend to make mistakes, lose your head, miss things around you that can assist you. Basically, you are risking injuring, losing your mind and even dying.
There are countless examples of people who had no survival experience whatsoever, who managed to stay alive and get themselves safely out of trouble and back to society in one piece, even after a long period of time being alone and in dangerous situations. Their amazing survival stories have inspired many books and movies.
Those people adapted to the situation and the environment, stayed calm and cleared their heads in order to think how to survive the situation at hand. Also, their positive mental attitude allowed them to battle as hard as they could for survival, and not to succumb to despair and negative thoughts.
Step 2: Look for other Survivors
If your boat or plane happened to fail at sea, then try looking for other people and survivors. It’s always best to survive together as you can help each other. Also, others may be injured or in need of assistance. If you find other people, try to help and get together to the shore and onto the island.
When you’re a group of people, it’s easier to survive. The situation is a lot more bearable, less scary, better psychologically for everyone and you will also divide the work on the island between everyone. Also, other people may have skills and knowledge that you do not possess, which will increase greatly the chances for survival.
Step 3: Salvage Whatever Possible
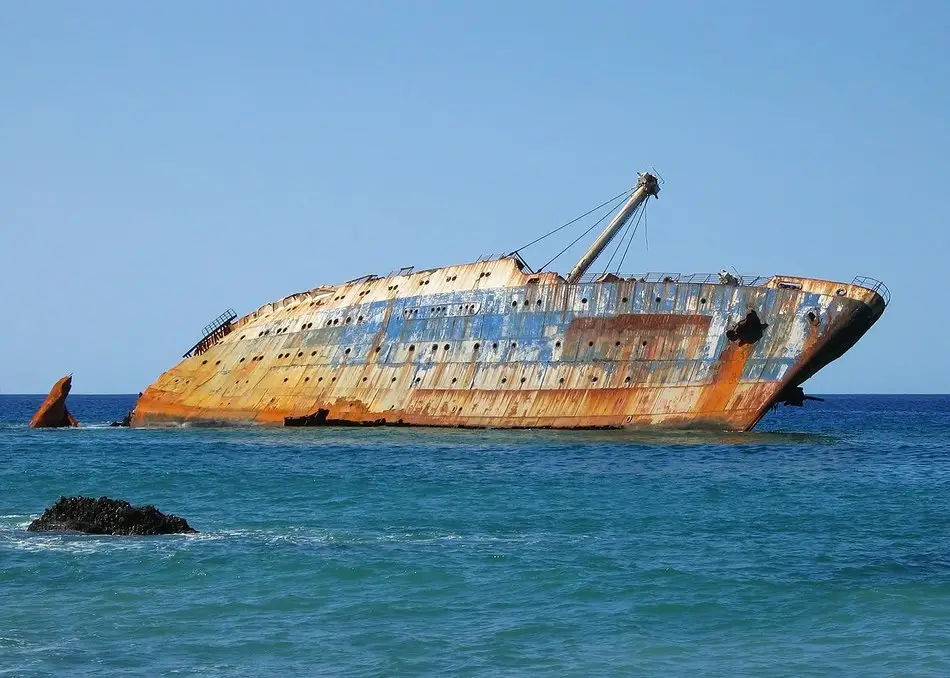
If you find yourself stranded in a deserted island because the boat or plane broke down, you had to make an emergency landing or God forbid crashed, it is still vital to try and salvage whatever equipment you can from the boat, plane or wreckage. Try to do so before you head to shore.
This may come as a surprise, but basically anything you salvage can be adapted for other uses and aid you in survival. Remember the 80’s TV show “MacGyver” featuring Richard Dean Anderson (not the new remake from recent years)? Well, something like that. Different items can be adjusted and used to build a shelter or a bed, make clothes and even footwear.
Look for stuff and useful material that may float on the water and that you can salvage and use on the island. There is a need for creativity here, but the rule states that it is better to have different items and things with you that can serve you, than have nothing in reach as you face a deserted environment. This how you will be able to survive even if you had nothing to begin with.
One of the most important items to get (if possible) is a knife. Using the knife, you can cut and open things like cans and food packages, carve tools, build a shelter, clean fish, skin an animal, cut wood in order to start a fire, cut bandages and dress wounds. Naturally, if you happen to find and salvage other tools like a hammer or an axe, they can also greatly assist you in building shelter, protecting yourself, and more. Having a survival axe nearby is always a plus.
Here are some suggestions for material and stuff to salvage if possible:
- Plastic sheets: You can use them to build water stills.
- Fabric and clothes: Once on shore, you can dry and use it later.
- Containers and bottles: You can use them to store water. If you find closed water bottles, you must take them, as it is a ready, drinkable water that is essential for survival.
- Anything possible: This basically means to grab and salvage anything that you can. Even what looks like junk to you on a regular basis can come in handy and assist you to survive on a deserted island.
Step 4: Try Not to Get Injured
If you find yourself at sea, swim to shore with the others (if there are more survivors) after you’ve gathered whatever is possible, as discussed above. When swimming to sea, watch out for currents that can sweep and drag you back to sea. Also, when approaching to the shore, look out for different rocks.
If you’re too tired or don’t know how to swim, you can try floating to shore. Lay on your back and keep your lungs full. Then, use the arms and hands in order to steer yourself to shore. Survival floats are done by facing yourself down into the water. Don’t worry, here is how it’s done. You will just need to completely relax your body, while holding breath. You will then float on the water and whenever you need some air, just raise your head and breathe in some air.
If you do get injured, it is crucial you treat the injuries as soon as possible! In a tropic weather, some injuries such as cuts might get septic, which leads to gangrene. That is why it is highly important to treat injuries as soon as you can. Also, try to avoid getting new injuries on the way.
Paul Hart is a former Royal Navy lieutenant commander who knows a thing or two about survival. He used to run exercises, in which he asked his students what equipment they prefer to choose first in case the boat they were on got wrecked on a coral reef, close to a desert island. Most chose water or something they could start a fire with.
The correct answer is actually a pair of wellies (knee-high waterproof boots). This would allow them to get ashore without sustaining injuries and cuts from the coral, which in some cases can even lead to death. Once they are safe ashore, the wellies can also store water, and don’t mind the taste, because your first priority is to survive.
Here is a great video from St John Ambulance that teaches how to treat severe wounds when no immediate medical care is available:
Step 5: Find and Obtain a Water Source
There is no life without water. The common knowledge tells that you survive for 3 minutes without air, 3 hours without shelter (when conditions are harsh), 3 days without water and 3 weeks without food. It’s very similar to the famous survival rule of fours.
Even though you can survive for 3 days without water, it only takes a few hours without water to impair your judgment and reduce your abilities to make smart and right decisions, especially in harsh and emergency situations.
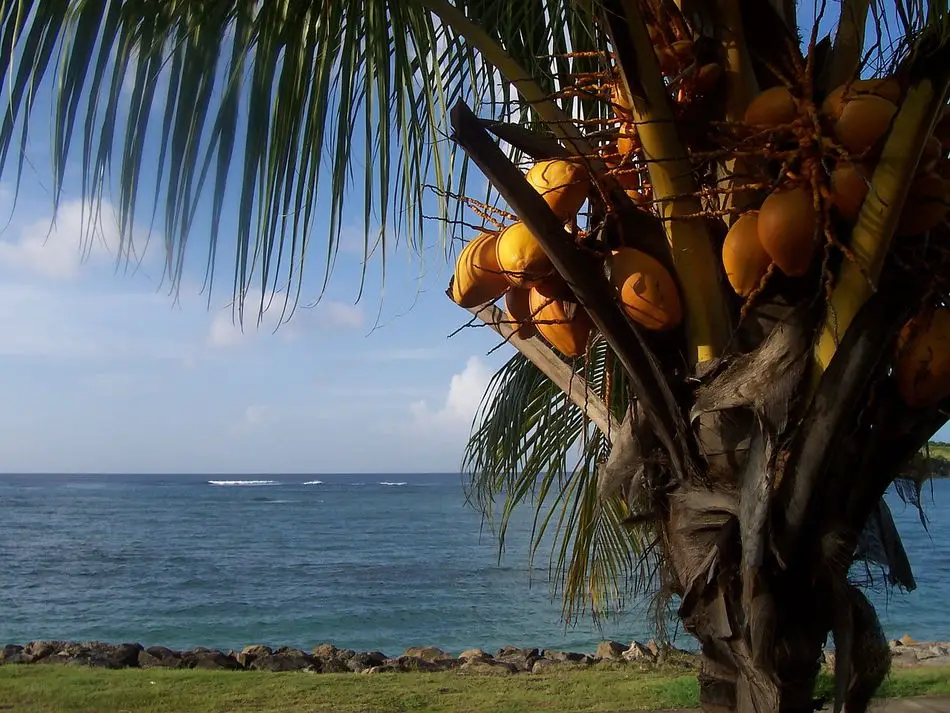
Deserted islands tend to be supplied with enough fresh water, which is crucial for your survival. If you look around and notice coconut trees, palm trees and quite a bit of vegetation, it means that there is a source of water here to obtain.
On the other hand, if the deserted island happens to be barren, flat and just a piece of sand, then chances are there is no fresh source of water around, and you’ll have to use the sea as your source of water. Drinking seawater as is, is not recommended as it may kill you. But, if you have salvaged a few items from the boat or plane, you will be able to make a “solar still” that turns the salty seawater into distilled water. You can even use this to recycle your urine and turn them into fresh water. Remember, you must do anything possible to survive.
If you can find small streams of water that run to the sea, that would be great. It can be a great source of water and even better than big streams, since they carry less silt. Another source of water can be found inside caves. They may have water that drips down and using the wellies (or another item), you can store these drops little by little to have drinking water for survival.
Thunderstorms also serve as a water source and plenty of it, just remember to have items that can store the water raining down from above. The last resort in case you can’t find any drinkable water source will be to consume your own urine. Unpleasant, but crucial for your survival.
Because you can never know if the water is contaminated and contains parasites, it is always advised to boil the water before drinking it. There are several additional ways to purify water that you can employ. Also, plenty of food contain water, like coconuts.
Step 6: Build Yourself a Shelter
You must build a shelter if you want to survive. The conditions on the island can be harsh, be it thunderstorms (that can lead even to hypothermia), winds, unbearable heat, and other extreme weather phenomena that you need to survive.
The material you’ll find on the island as well as what you’ll be able to salvage will determine the kind of shelter you’ll be able to build.
Let’s take a case in which the island you’re stranded on has evening thunderstorms. The sun sets and it begins to pour down heavy rain, water that was evaporated earlier due to the daytime’s heat. This water then freezes, and if you’re not protected by a shelter, you might freeze as well. A scenario like this emphasizes why a shelter is necessary for your survival.
So, let’s say you would like to build a lean-to shelter. Here is how you do it:
- You will need a sturdy, long branch or stick. This log needs to be longer than your height.
- Next, you should lean it up against a tree, as it will serve as a roof line. Make sure you find the right angle that suits your height.
- Over the main branch, you should now lay small sticks and branches. Place the sticks at an angle of 45 degrees.
- Next, using leaves and branches, cover these sticks. This will basically create the walls of the shelter.
Remember to build your shelter away from coconut trees or other things that can fall from above on you or your shelter.
Another advice I can give you is not to sleep on the ground if possible. Tropical regions may have poisonous snakes and other reptiles that you don’t want to be stung by. Cleaning the area of your shelter and setting up fire will help clear away unwanted insects and other animals.
Making a net to prevent mosquito bites is also a smart move. You want to sustain as less bites and injuries as you can. Build an outer shelter first. Then hang a sheet or a similar material, wigwam-style. You can hide under it to prevent annoying insects from biting you.
Here is a video that demonstrates how you can build a shelter on an island:
Step 7: Start Fire
Now it’s time to start a fire in order to keep yourself (and others) warm, and you can do it even if you don’t have any tools. Yes, it is quite possible to start fire without matches or lighter. Here is a way to start a fire on a deserted island:
- Find some tinder, twigs, dry leaves or small pieces of wood and arrange everything in one place.
- Make sure the tinder, leaves or wood you’ve collected is dry, so it will catch fire quickly.
- Find a length of small wood. If it doesn’t have a small groove in it, then you should cut the wood and make a grove.
- Next, you’ll need a hardwood stick. Also, gather the tinder together.
- Now, you should place the tinder inside the groove and start rubbing the hardwood stick quickly up and down the groove in order to create friction.
- With some good effort, the tinder will catch the sparks and eventually ignite. The tinder should be placed in a small kindling tepee.
- In order to make the fire higher and keep it alive, try adding bigger pieces of wood.
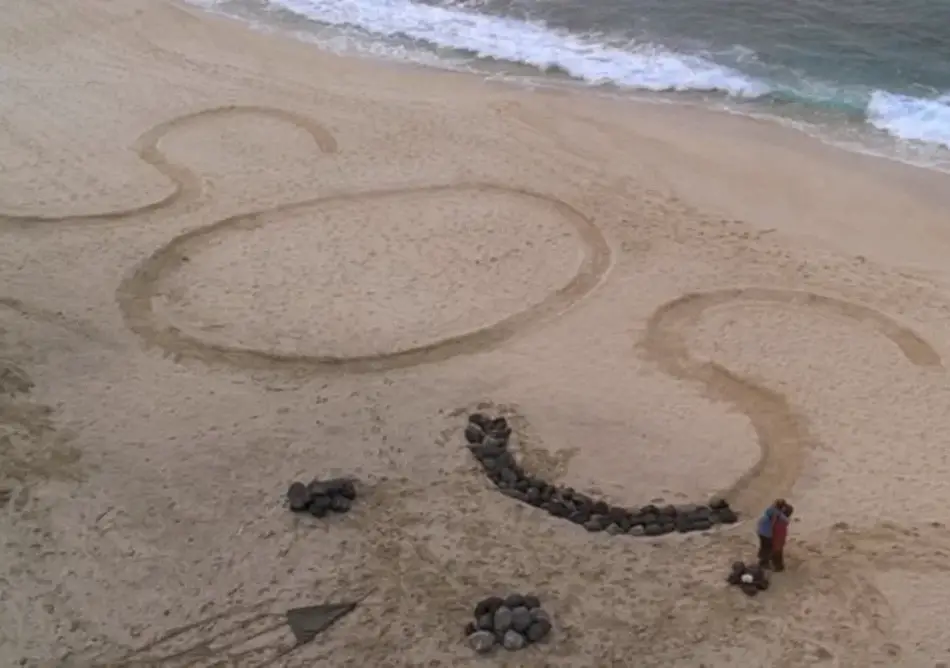
Step 8: Make a Rescue Signal
In order to make it easier for the rescuers to find you, it would be smart to create a rescue signal. Here are some options for a rescue signal:
- You can burn wet wood to signal your location with the smoke produced from the fire. Flares or tree fires that are arranged in the shape of a triangle are known as an international distress signal.
- Spell out on the beach the words S.O.S. or HELP using large rocks.
- Another way to spell the words is by using large sticks and draw the words in the sand.
- If you decide to change your location on the island, make sure to draw an arrow on the ground, signaling your new location using stones.
Step 9: Find Some Food
As I’ve stated earlier in the article, you can survive for up to 3 weeks without food, but let’s not test this, shall we?
A deserted island can actually have plenty of resources as food. Among the things to consume, you may find oysters, fish (usually around the island in the shallow water), seaweed (test first with a small amount, as there are seaweed that can cause intestinal distress), mollusks, shrimps and clams. Some may be poisonous, so treat it carefully and clean if needed. If there are banana or coconut trees around, you can of course eat from them as well.
If it’s hard to open or dislodge whatever you find to eat, then it’s probably okay to consume. However, if it’s too easy to open them up, then it is most likely that they are diseased, so do not consume them in this case.
It is always advised to cook whatever possible, especially when it comes to shell fish in order to kill the parasites and poisons denatured. Be careful with fish that have poisonous barbs. Also, sea snakes tend to be very venomous.
You’ll probably be able to make a hook (from whatever you’ve salvaged or find on the island), so do it. When the tide is low, search for worms so you can use them as bait. And, when you’re away from the beach, you will probably find other sources of food to consume like vegetables, fruit and coconuts.
You can also use a sharp stick and make a spear that will help you spear-fishing.
Again, you should always be careful and think about what you’re about to consume, whether it’s safe for you to eat it or not. One thing you can do is rub the food you’re about to eat over the back of your hand. Wait a few minutes and then see and feel if there is any kind of reaction to it. If nothing happens, try the food against the upper lip (do it carefully) and then wait again for any kind of reaction. If again nothing happens, then try the food carefully and easily against the tongue and again look for a reaction.
The next step is to put a small piece of the food in your mouth and simply hold it for a while. Then, take the food out of your mouth. If there is no reaction, then you can try a small bite of it. Again, this is not a guarantee that the food is not poisonous, but it’s a pretty safe way to check it before consuming.
If the island has animals on it and you’ve successfully hunted one of them, it’s important to prepare in a proper way before eating it. The meat of an animal is a great source for food and energy, but animals can also carry diseases. Here is how to prepare an animal for eating:
- First, you need to remove the skin or hide. Make sure you removed all of it before you carry on.
- Second, you need to take the entrails out. Remove the animal’s organs from the stomach and chest areas, but do it carefully. Pay attention to the bladder and digestive tract so it won’t spill.
- Next, you can save and then eat the liver and heart.
- Remember to boil or roast the animal’s meat, after you’ve cleaned and prepared it for eating.
Because you can’t know when rescue will arrive, you may want to preserve some meat for later use. Once you have hunted an animal and have meat at hand, you’ll need to either eat it at once or preserve it.
If you leave the meat untreated, it will spoil. So, if you wish to preserve some meat for later consumption, here is how you do it:
- One option is to smoke the meat, which will help preserve it for a few weeks. In order to do that, cover using a sheet or a blanket a small fire and trap the smoke. Using sticks, have the meat hanged above the fire, and leave it there in the smoke for approximately 2 days.
- Another option to preserve the meat is by drying it. In order to dry the meat, you’ll need to cut it into thin slices and then leave it to dry in the sun on a drying rack. Make sure that no insects nor animals come close to the meat as it is being dried. Before consuming it, make sure that the meat is fully dry and also crisp.
- The last option to preserve the meat is by freezing it. If the island you’re stranded on has snow or the temperatures on it are cold, consider freezing the meat. If you choose this option, remember to cook the meat prior to eating it.
Additional Tips for Survival on a Deserted Island
These are the main and immediate steps for survival on a deserted island. Now, I would like to share with you some additional tips that may assist as well and have the whole picture complete.
- Defensive state of mind: The island may have different predators that can be dangerous, so you’ll need to be careful and know how to defend yourself. It’s best to avoid conflict with these predators. When you’re at sea, stay away from deep water where sharks may wonder. Also, avoid entering caves if not necessary. There’s always a possibility there is a bear or some other dangerous animal inside. You can also make some basic self-defense tools, like a spear, from a sharp stick.
- Waiting for help: After you’ve followed all the main steps above, all you can do at this point is wait for help. It is best to stay in one place (where you’ve built your shelter) and not wander too much around the island, so you won’t get injured or lost. This will also increase the chances of rescuers to narrow down your location on the island.
- Keeping calm and passing the time: It’s important to get some rest even while trying to survive. The body and soul need recuperation as well, so take a break from time to time and find things to do on your free time. Staying positive is extremely important. Here are some things you can do: rest and sleep, dance, sing, and even daydream. It’s perfectly okay to be afraid, just don’t let it harm your thoughts and the intent to survive and being rescued. You can also think of future plans and things to do on the island and what you can improve around you and about your situation to survive.
- Build a raft: If you find the conditions on the island too difficult and harsh to handle, consider building a raft and attempting to leave the island. Another reason to build a raft and try to leave by sea is if you think that you are presumed dead. Bear in mind that building a raft and sailing off to the ocean can be extremely dangerous and should be your last resort. If you still consider building a raft, here is how you do it:
- Get some large logs that will serve as the base of your raft.
- Get smaller logs that will serve as the platform and braces of your raft.
- Using vines, you should tie small branches on top of the large logs.
- Before you tie them off, remember to loop the vines over and under each log.
- After you’ve built your raft, you should first test it in shallow waters.
- You should also take with you some extra vines and logs. This is in order to make repairs if necessary.
Further Reading
Surviving on a deserted island is a skill that most of us will never need, but it never hurts to know what steps should be taken in such an extreme situation. There are, of course, other survival skills that you need to know by heart. Additionally, if you wish to survive in any situation, make sure you possess the necessary survival qualities that can help you survive in any environment, including a desert.
There is a very helpful book that I would like to recommend at this point. Bushcraft 101: A Field Guide to the Art of Wilderness Survival by Dave Canterbury is probably the most famous survival guide there is. No matter how difficult your circumstances are, even if you’re stranded on an island, completely detached from the civilization – the book has all the important answers to your troubles. How to make tools, collect and catch food, protect from the harsh elements – you will find everything in Bushcraft 101.

Click here to read more reviews of this incredible bestseller on Amazon.
